
7 Mistakes You're Making with Statement Lipstick (And How to Fix Them)
- Miranda McCray
- Dec 15, 2025
- 5 min read

Statement lipstick is your secret weapon : the bold, unapologetic finishing touch that transforms your entire look from ordinary to absolutely iconic. But here's the thing: wearing a statement lip isn't just about swiping on your favorite red and calling it a day. Too many women make critical mistakes that undermine their bold lip game, leaving them looking less polished than powerful.
We're about to bypass all the common pitfalls that keep you from owning your statement lip moment. These seven mistakes might be sabotaging your lipstick confidence : but don't worry, we've got the fixes that will elevate your lip game to fearless new heights.
Mistake #1: Choosing Colors That Fight Your Skin Tone
You fall in love with that gorgeous coral everyone's raving about, but when you wear it, something feels... off. Your complexion looks dull, your features disappear, and instead of feeling empowered, you feel washed out.
The mistake? Ignoring your skin's undertones when selecting statement shades. That trendy orange-red might be stunning in the tube, but if you have cool undertones, it's working against your natural beauty instead of celebrating it.
The Fix: Master your undertones first : this is non-negotiable for statement lip success. Hold gold and silver jewelry against your skin. If gold makes you glow, you have warm undertones and should reach for coral-reds, brick tones, and orange-based statement shades. Silver looks better? You have cool undertones : embrace berry shades, blue-based reds, and rose tones that will make your skin look luminous.
For neutral undertones, you lucky soul : you can wear virtually any statement shade, but always test colors in natural light before committing.

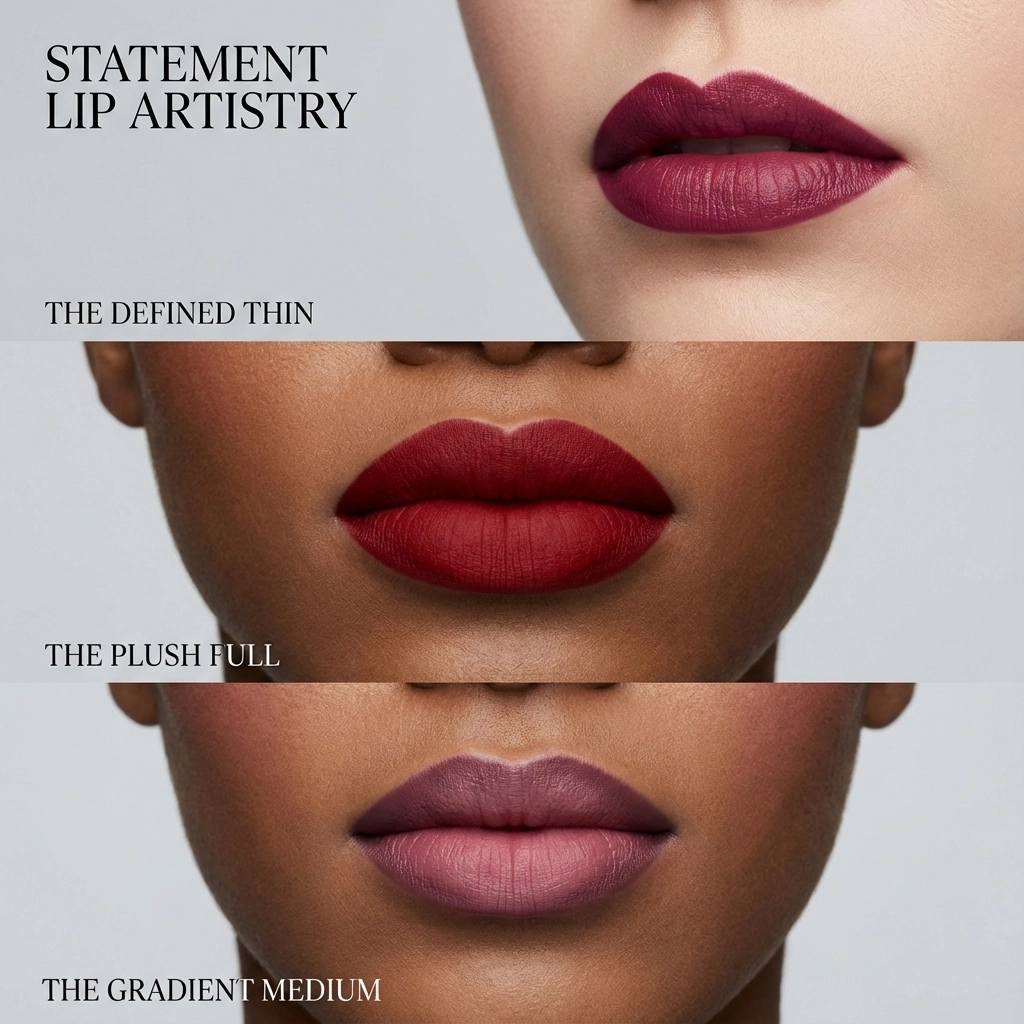
Mistake #2: Ignoring Your Natural Lip Shape
Here's a bold truth: not every statement lip works for every lip shape, and pretending otherwise won't serve your confidence. Dark, dramatic colors can actually minimize thinner lips, while certain bright shades might emphasize areas you'd prefer to downplay.
The mistake is treating all lips the same. Your unique lip shape deserves a customized approach that enhances your natural beauty.
The Fix: Celebrate your lip shape by choosing statement colors strategically. If you have thinner lips, avoid super dark or matte formulas that can make lips appear smaller. Instead, opt for vibrant reds with slight sheen or add a dab of clear gloss to the center of darker shades : this creates dimension and the illusion of fuller lips.
Fuller lips? You can absolutely rock those deep, dramatic shades. Embrace burgundy, deep berry, and rich chocolate browns that complement your natural volume.
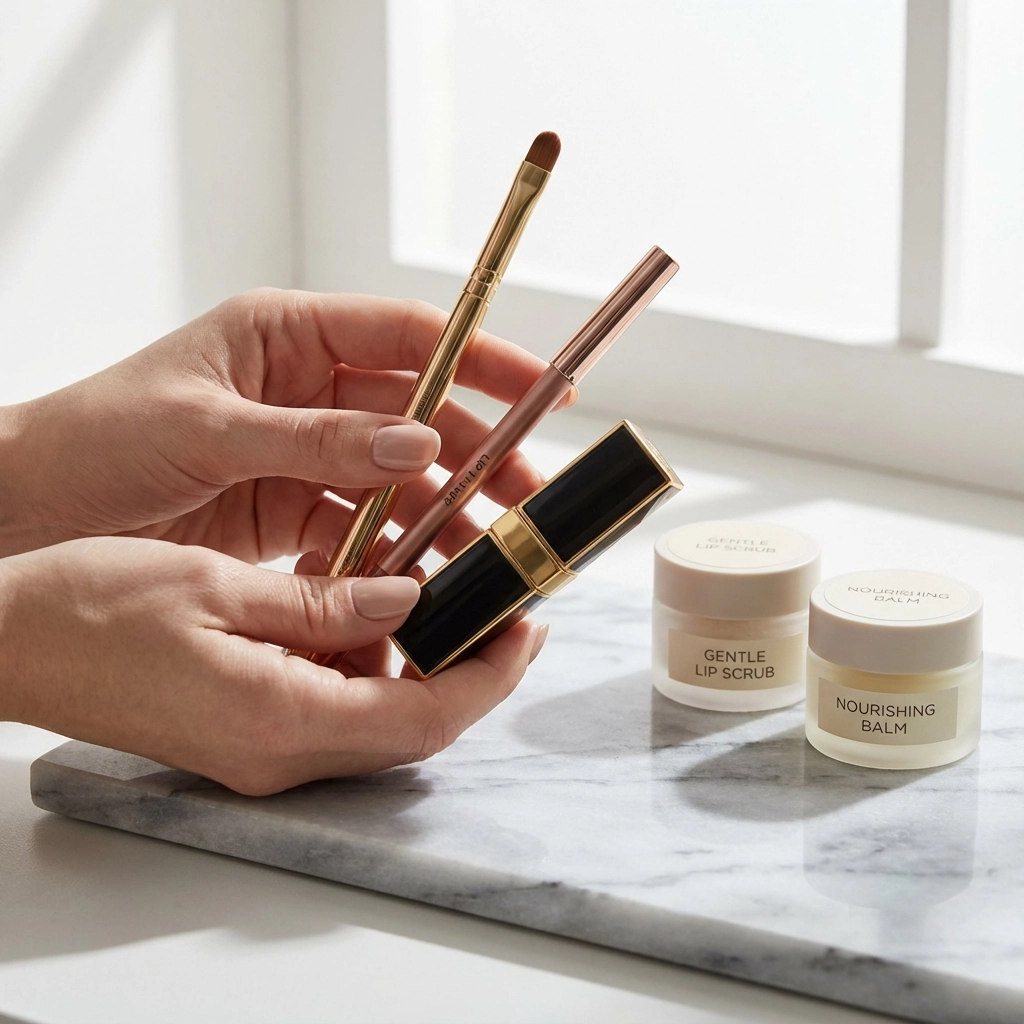
Mistake #3: Skipping the Prep Work
You wouldn't paint a masterpiece on a rough canvas, so why apply statement lipstick to unprepared lips? Dry, flaky, or uneven lips will sabotage even the most expensive lipstick, creating a patchy, unprofessional finish that undermines your entire look.
The Fix: Transform your lips into the perfect canvas with intentional prep work. Exfoliate weekly using a gentle lip scrub or soft toothbrush to remove dead skin. Always apply lip balm and let it absorb completely before makeup application.
Here's the game-changing step most people skip: lightly dust translucent powder over your prepped lips, then gently buff away excess. This creates the ideal base for your statement color to adhere beautifully and last longer.
Mistake #4: Ditching the Liner (Big Mistake!)
We get it : liner feels like an extra step when you're rushing out the door. But skipping lip liner with statement colors is like building a house without a foundation. Your gorgeous lipstick will feather, bleed, and lose its crisp definition throughout the day.
Statement lips demand precision : they're meant to be noticed, which means they need to look intentionally perfect.
The Fix: Make lip liner your non-negotiable foundation. Choose a shade that matches your lipstick or is slightly deeper : never lighter. Start by marking small dots at your cupid's bow, the corners of your mouth, and the center of your bottom lip. Connect these guides with smooth strokes, then fill in your entire lip area.
Pro tip: Blend the liner slightly inward with your finger or a small brush. This prevents harsh lines while creating the perfect base for your statement color.
Mistake #5: Going Heavy-Handed with Application
More product doesn't equal more impact : it equals more mess. Applying statement lipstick too heavily creates that dreaded "lipstick on teeth" situation, causes color to collect in lip lines, and results in uneven, clumpy coverage that screams amateur hour.
The Fix: Build your statement lip in strategic layers. Apply your first layer lightly from the center outward, focusing on even coverage rather than intensity. Blot gently with a tissue, then apply your second layer for full opacity.
Use a lip brush for ultimate precision : this tool gives you complete control over application and ensures smooth, even coverage that looks professionally applied. Your statement lip should look intentional and polished, never accidental.
Mistake #6: Using Sloppy Application Technique
Swiping lipstick directly from the tube might work for your everyday nude, but statement colors require technique. Messy application shows : every uneven edge, every wobbly line, every imperfection becomes magnified when you're wearing bold color.
The Fix: Elevate your application game with professional techniques. Start at your cupid's bow, creating that perfect heart shape that defines your upper lip. Follow your natural lip line precisely : don't try to dramatically overdraw with statement colors.
Apply color from the outer corners toward the center, then fill in the middle. This prevents product buildup at the corners while ensuring even saturation. Clean up any mistakes immediately with a small brush dipped in concealer.
Mistake #7: Forgetting to Set Your Statement
You've applied your perfect statement lip, but within an hour it's transferred to your coffee cup, faded unevenly, or completely disappeared from the center of your lips. The culprit? Not setting your color properly.
Statement lipsticks : especially bold, saturated shades : need extra staying power to maintain their impact throughout your day.
The Fix: Lock in your statement lip with strategic setting techniques. For matte formulas, lightly press a tissue over your lips and dust translucent powder through the tissue. This sets the color without disturbing the application.
For cream or satin finishes, apply your lipstick, blot, powder lightly, then apply a second thin layer. This sandwich technique creates incredible longevity while maintaining your chosen finish.
Consider carrying your statement shade for quick touch-ups : even the best-set lipstick may need refreshing after meals or long wear.
Your statement lip is more than makeup : it's your signature, your confidence booster, your way of announcing to the world that you're here and you're unapologetic about taking up space. These seven fixes will transform your lipstick game from good to absolutely unstoppable.
Ready to bypass these common mistakes and embrace fearless lip confidence? Your perfect statement lip awaits ; and now you have all the tools to wear it flawlessly.
Comments